
Pressure cooking and canning a turkey isn’t just about convenience—it’s a game changer for saving time, reducing food waste, and creating nutrient-rich staples for your pantry. From hearty turkey meat to golden, flavorful broth, this method yields multiple meals while utilizing every part of the bird. This is also a fantastic project for after Thanksgiving or Christmas when turkey often goes on sale. I snagged mine for $0.88/lb, and I know some folks found them for even less. Considering all the use you get out of a single bird, this method offers incredible savings overall. Let’s dive into the step-by-step process of turning a frozen turkey into jars of broth, meat, and bone broth for your homestead or kitchen.
Step 1: Pressure Cooking the Turkey
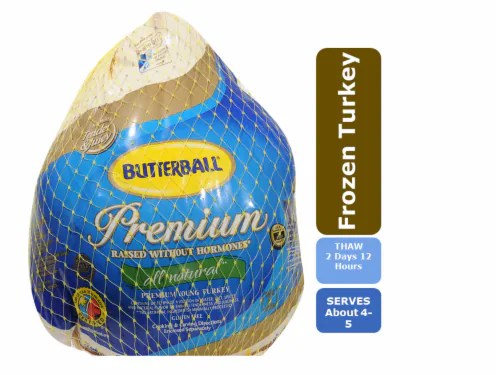
The journey starts with a frozen turkey. You don’t need to thaw it, and there’s minimal prep involved. Here’s how:
What You’ll Need:
- A frozen turkey (12–15 lbs recommended)
- Pressure canner (check your specific model’s instructions)
- Onions, celery, carrots, and herb seasonings
- Water
Instructions:
- Check Your Elevation: This determines the pressure level. At my elevation, I use 10 lbs of pressure, but you may need to adjust based on your location.
- Prepare the Turkey: Remove the wrapper but leave everything else intact—the temperature pop-up, leg ties, giblet bag—it all stays.
- Load the Canner: Place the turkey in your pressure canner. Add water up to the halfway mark (do not exceed the 2/3 line). Toss in vegetable scraps like onion ends, celery tops, and carrot peels, along with herbs like rosemary, thyme, parsley flakes, and bay leaves.
- Seal and Vent: Ensure your canner’s valve is clear, then follow your canner’s instructions. Vent steam for 10 minutes before placing the weight, if required by your model.
- Cook: Once the pressure reaches the correct level, set your timer for 6 minutes per pound. For example:
- 12 lb turkey = 75 minutes
- 15 lb turkey = 90 minutes
- Cool Down: Allow the pressure to drop naturally before opening the canner.
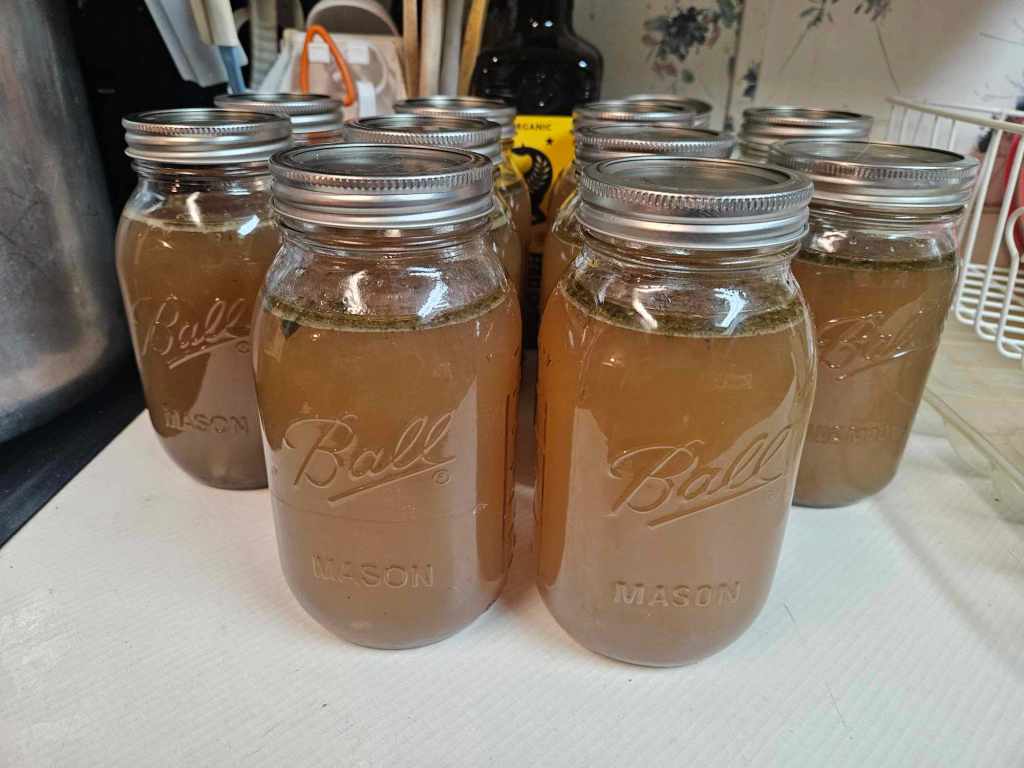
Step 2: Turkey Broth
The liquid gold left behind is turkey broth—flavorful, nutritious, and versatile for soups, gravies, and more.
How to Jar the Broth:
- Ladle the Broth: While the canner is still warm, ladle the broth into jars, leaving 1 inch of headspace.
- Clean Rims: Wipe rims with vinegar to remove grease, then wipe off the vinegar to prevent corrosion.
- Seal Jars: Add lids and rings, tightening them to fingertip tightness.
- Use or Store: You can use the broth immediately, freeze it, or can it for long-term storage.
Why It’s Worth It:
- Nutritional Benefits: Rich in collagen and minerals, turkey broth supports gut health and immunity.
- Uses: A base for soups, a cooking liquid for grains, or a savory ingredient for sauces.
- Storage Tips: Store sealed jars in a cool, dark place and always check the seals before use. Properly sealed jars will keep for years, offering a sustainable, long-lasting source of delicious broth.
Turkey Broth: Beyond Flavor
- Hydration and Electrolytes: Turkey broth is not just flavorful; it’s also hydrating. The liquid contains electrolytes like sodium, potassium, and magnesium, which can help replenish the body, especially during illness or after physical exertion.
- Digestive Health: The amino acids in turkey broth, such as glutamine, support gut health and can help soothe an irritated digestive system.
- Versatile in Cooking: Beyond sipping as a warm, comforting drink, turkey broth is a culinary staple. Use it as a base for soups, stews, sauces, or grains like rice and quinoa to add richness and nutrition to everyday meals.
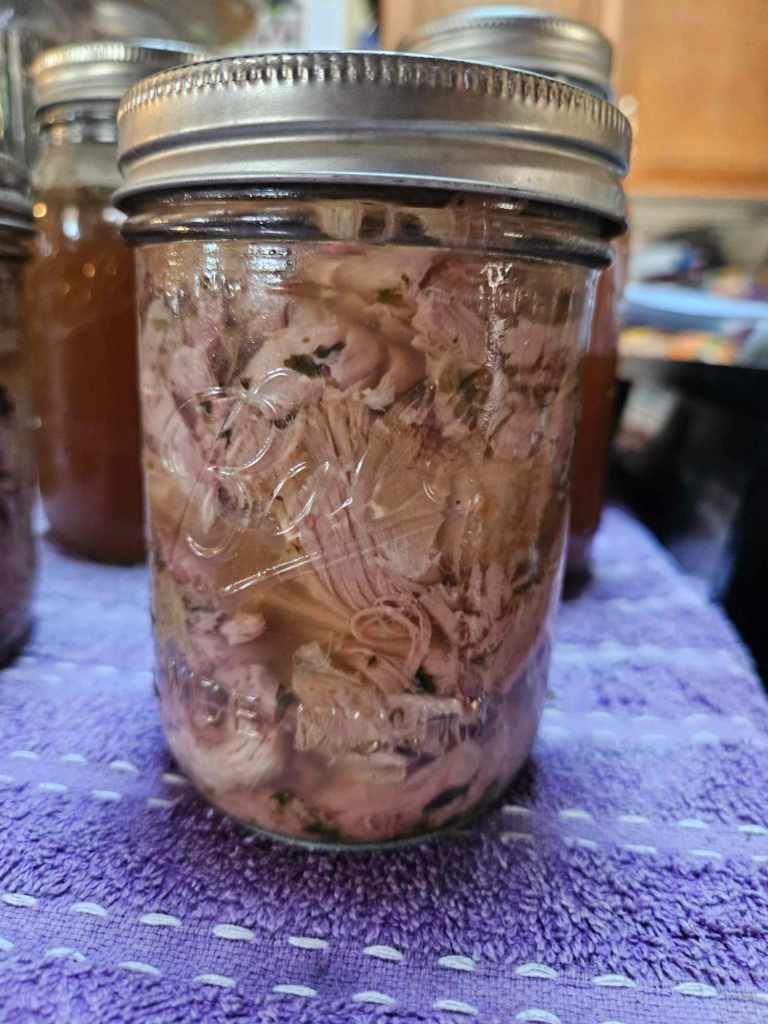
Step 3: Canning Turkey Meat
Debone the turkey after cooking, and save the bones for the next step (bone broth).
How to Can Turkey Meat:
- Prep Jars: Use hot jars for hot meat and broth or cold jars for cooled ingredients. Match the water temperature in the canner to avoid jar breakage.
- Pack the Meat: Fill jars tightly with turkey meat, leaving 1 inch of headspace. Add a little broth to prevent air pockets but don’t overfill—it should coat the meat, not dilute it.
- Clean Rims: Again, wipe rims with vinegar, then wipe it off to protect seals.
- Pressure Can:
- Pints: 70 minutes
- Quarts: 90 minutes
Why It’s Worth It:
- Shelf-Stable Protein: Canned turkey meat is a convenient, protein-rich addition to meals.
- Meal Ideas: Use it in casseroles, sandwiches, salads, or quick stir-fries.
- Storage Tips: Store sealed jars in a cool, dark place and always check the seals before use. Properly sealed jars will keep for years, offering a sustainable, long-lasting source of delicious meat.
Turkey Meat: Lean Protein Powerhouse
- High-Quality Protein: Turkey meat is packed with lean protein, which supports muscle growth, repair, and overall energy. It’s an excellent choice for anyone looking to maintain a balanced, high-protein diet.
- Rich in Vitamins and Minerals: Turkey is a great source of B vitamins, particularly niacin (B3) and B6, which are essential for energy production, brain function, and the creation of red blood cells.
- Low in Fat: Compared to other meats, turkey is naturally lower in fat, especially if you use skinless cuts. This makes it a heart-healthy option for those managing cholesterol levels or overall fat intake.
- Perfect for Meal Prep: Canned turkey meat is a meal prep superstar. It’s ready to eat, easy to store, and can be added to countless recipes, from salads to casseroles, saving time while boosting nutrition.
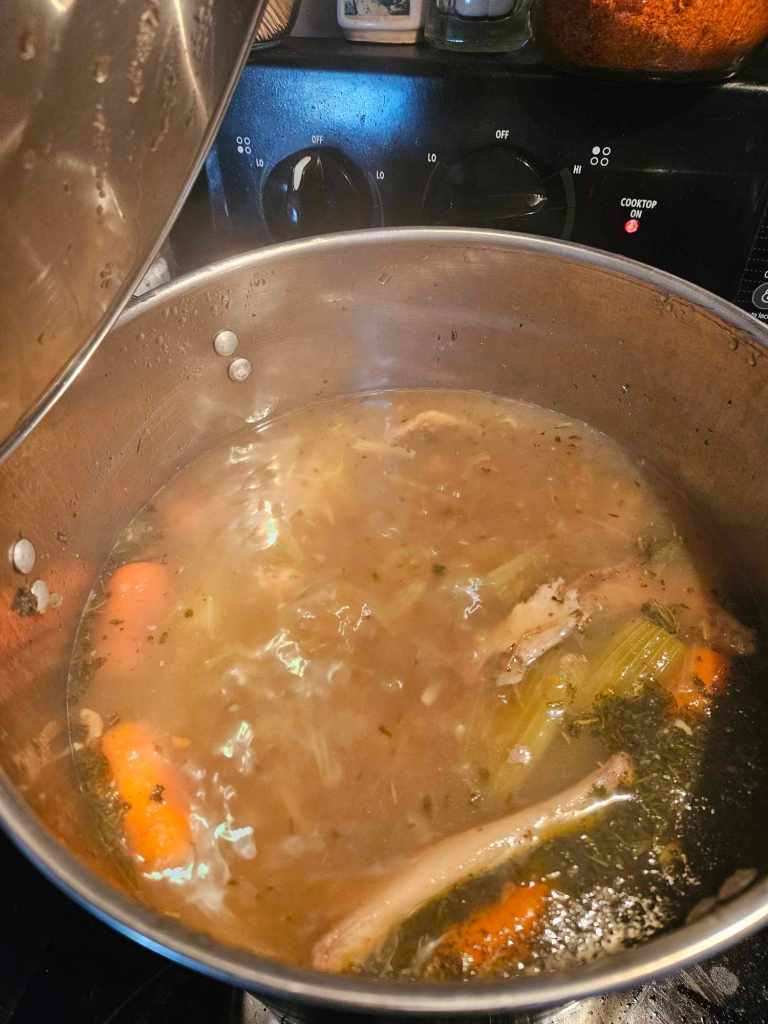
Step 4: Making Bone Broth
The turkey carcass holds incredible potential. By simmering it into bone broth, you unlock minerals, collagen, and rich flavors that enhance your cooking.
How to Make Bone Broth:
- Start with Vinegar: Add 2–3 tablespoons of apple cider vinegar to the bones and let sit for 15 minutes. This helps draw out nutrients like calcium and magnesium.
- Add Ingredients: Toss in carrots, celery, onion, and the same seasonings used earlier. Cover with water.
- Simmer:
- Stock: Simmer for 6–12 hours.
- Bone Broth: Simmer for 18–24 hours or longer.
- Strain and Jar: Strain the liquid into jars, pressing the solids to extract every drop of broth. For a clearer broth, use a fine mesh strainer or cheesecloth to remove small particles. Discard the solids into your compost bin.
- Debubble: After filling your jars, stir gently with a butter knife or debubbling tool to release trapped air bubbles. This step is essential for even processing during canning.
- Can or Freeze: Follow the same steps for canning as with turkey broth, or freeze in portions.
Why It’s Worth It:
- Nutritional Powerhouse: Bone broth is rich in amino acids, collagen, and minerals, making it a superfood for your body. These nutrients support gut health, joint function, and overall wellness.
- Immune Support During Illness: Bone broth has long been touted as a remedy for colds and flu, and for good reason. Its high content of easily digestible nutrients, like glycine and proline, helps soothe the digestive system and boost the immune response. The warm liquid can also help ease sore throats and provide hydration, which is crucial when you’re sick.
- Healing and Recovery: The collagen and gelatin in bone broth can help repair the gut lining, which plays a significant role in immune health. Additionally, the broth’s high mineral content replenishes electrolytes and provides energy during periods of weakness or recovery.
- Gelatinous Broth Indicator: After the broth cools, check its consistency—it should “gel,” a sign that collagen has been successfully extracted. While this isn’t guaranteed every time, the broth will still be full of nutrients and flavor.
- Sustainability: Using the carcass reduces waste and makes the most of your bird.
- Storage Tips: Store sealed jars in a cool, dark place and always check the seals before use. Properly sealed jars will keep for years, offering a sustainable, long-lasting source of delicious broth.
Tips for Success
- Pressure Canner Care: Avoid adding vinegar to your canner water; it can corrode the aluminum interior.
- Stagger the Work: If tackling all three steps at once feels overwhelming, spread them over a few days.
- Season Lightly: If you plan to use the broth in recipes, keep seasoning minimal so it’s versatile.
- Compost the Waste: Bones and scraps that are strained out can be composted, enriching your garden soil.
Comparing Turkey Broth and Bone Broth: What’s the Difference?
As you work through this process, you’ll end up with two types of broth: turkey broth from the initial pressure cooking and bone broth from simmering the carcass. While they may look similar, their uses and benefits are distinct.
- Turkey Broth (Pressure Cooking Stage):
- Purpose: This is a flavorful, lighter broth made during the initial pressure cooking of the turkey. It’s perfect for soups, gravies, or any dish that needs a savory base.
- Flavor: Turkey broth has a clean, rich turkey flavor with notes of the herbs and vegetables used during the cooking process.
- Nutrients: While nutritious, it doesn’t have the same depth of minerals and collagen found in bone broth.
- Bone Broth (Carcass Stage):
- Purpose: Bone broth is a deeply nutrient-dense liquid made by simmering the turkey bones for an extended period. It’s ideal for sipping on its own or for adding to dishes where you want a more concentrated nutritional boost.
- Flavor: Bone broth has a more robust and complex flavor, with a richer mouthfeel due to the gelatin extracted from the bones.
- Nutrients: Packed with collagen, amino acids, and minerals, bone broth is renowned for its health benefits, such as supporting joint health and digestion.
By making both, you’re maximizing the yield from your turkey while creating versatile ingredients that cater to different culinary and nutritional needs.
Final Thoughts
Pressure cooking and canning a turkey isn’t just about preserving food—it’s about embracing a sustainable, resourceful mindset. From the flavorful broth to the tender meat and nutrient-packed bone broth, every part of the bird serves a purpose. Whether you’re stocking your pantry or reducing waste, this process is a win for your kitchen, your wallet, and the environment.
Have you tried pressure cooking or canning a turkey? What’s your favorite way to use turkey broth or canned turkey meat? Share your tips and ideas in the comments!
Enjoying this recipe? Find more like it in the Huckleberry Homestead Cookbook—available now!
