

We woke up Tuesday morning to the news that we would have snow and negative wind chills by the weekend. Into the next day, the predictions kept getting worse and spread across the country, causing folks to panic coast to coast. Northerners who weren’t properly prepared scrambled to find all of their winterization items. Southerners who have never dealt with low temps and snow were trying to learn all they could about winterizing their animals to protect them.
While those who deal with winters and birds regularly know that heat lamps are dangerous in the coops, those who are just beginning or who have never experienced a northern winter probably don’t have a clue! I saw posts online from a person in Louisiana that had a very good point. She had asked about using heat lamps in her chicken enclosure. The post got all kinds of responses along the lines of “You’ll kill your birds if you do that” and “You’re gonna start a fire using one of those” and “Chickens can’t suddenly regulate their temperature so if you lose power they will all die”. Her response was that since her chickens are used to hot and muggy swamp temperatures, this cold wave was going to be a shock regardless and that as fast as the temps were expected to fall they wouldn’t have the ability to regulate their internal temps anyway.
I had been panicking at this point. They were calling for wind chills in the -25 degree range, along with 3 to 6 inches of snow if not more. We went from 50 degrees on Wednesday to a predicted -5 Thursday night. That is one hell of a drop even for humans and inside animals, let alone for the outside animals. So with her words ringing in my head, I tried to think of how to shield the animals from the winds more than keeping them warm. Because she was correct that as fast as the temps were going to drop, they weren’t going to be able to acclimate. So the best thing to do is provide them with protection from the wind, which would automatically make it warmer than the outside air.
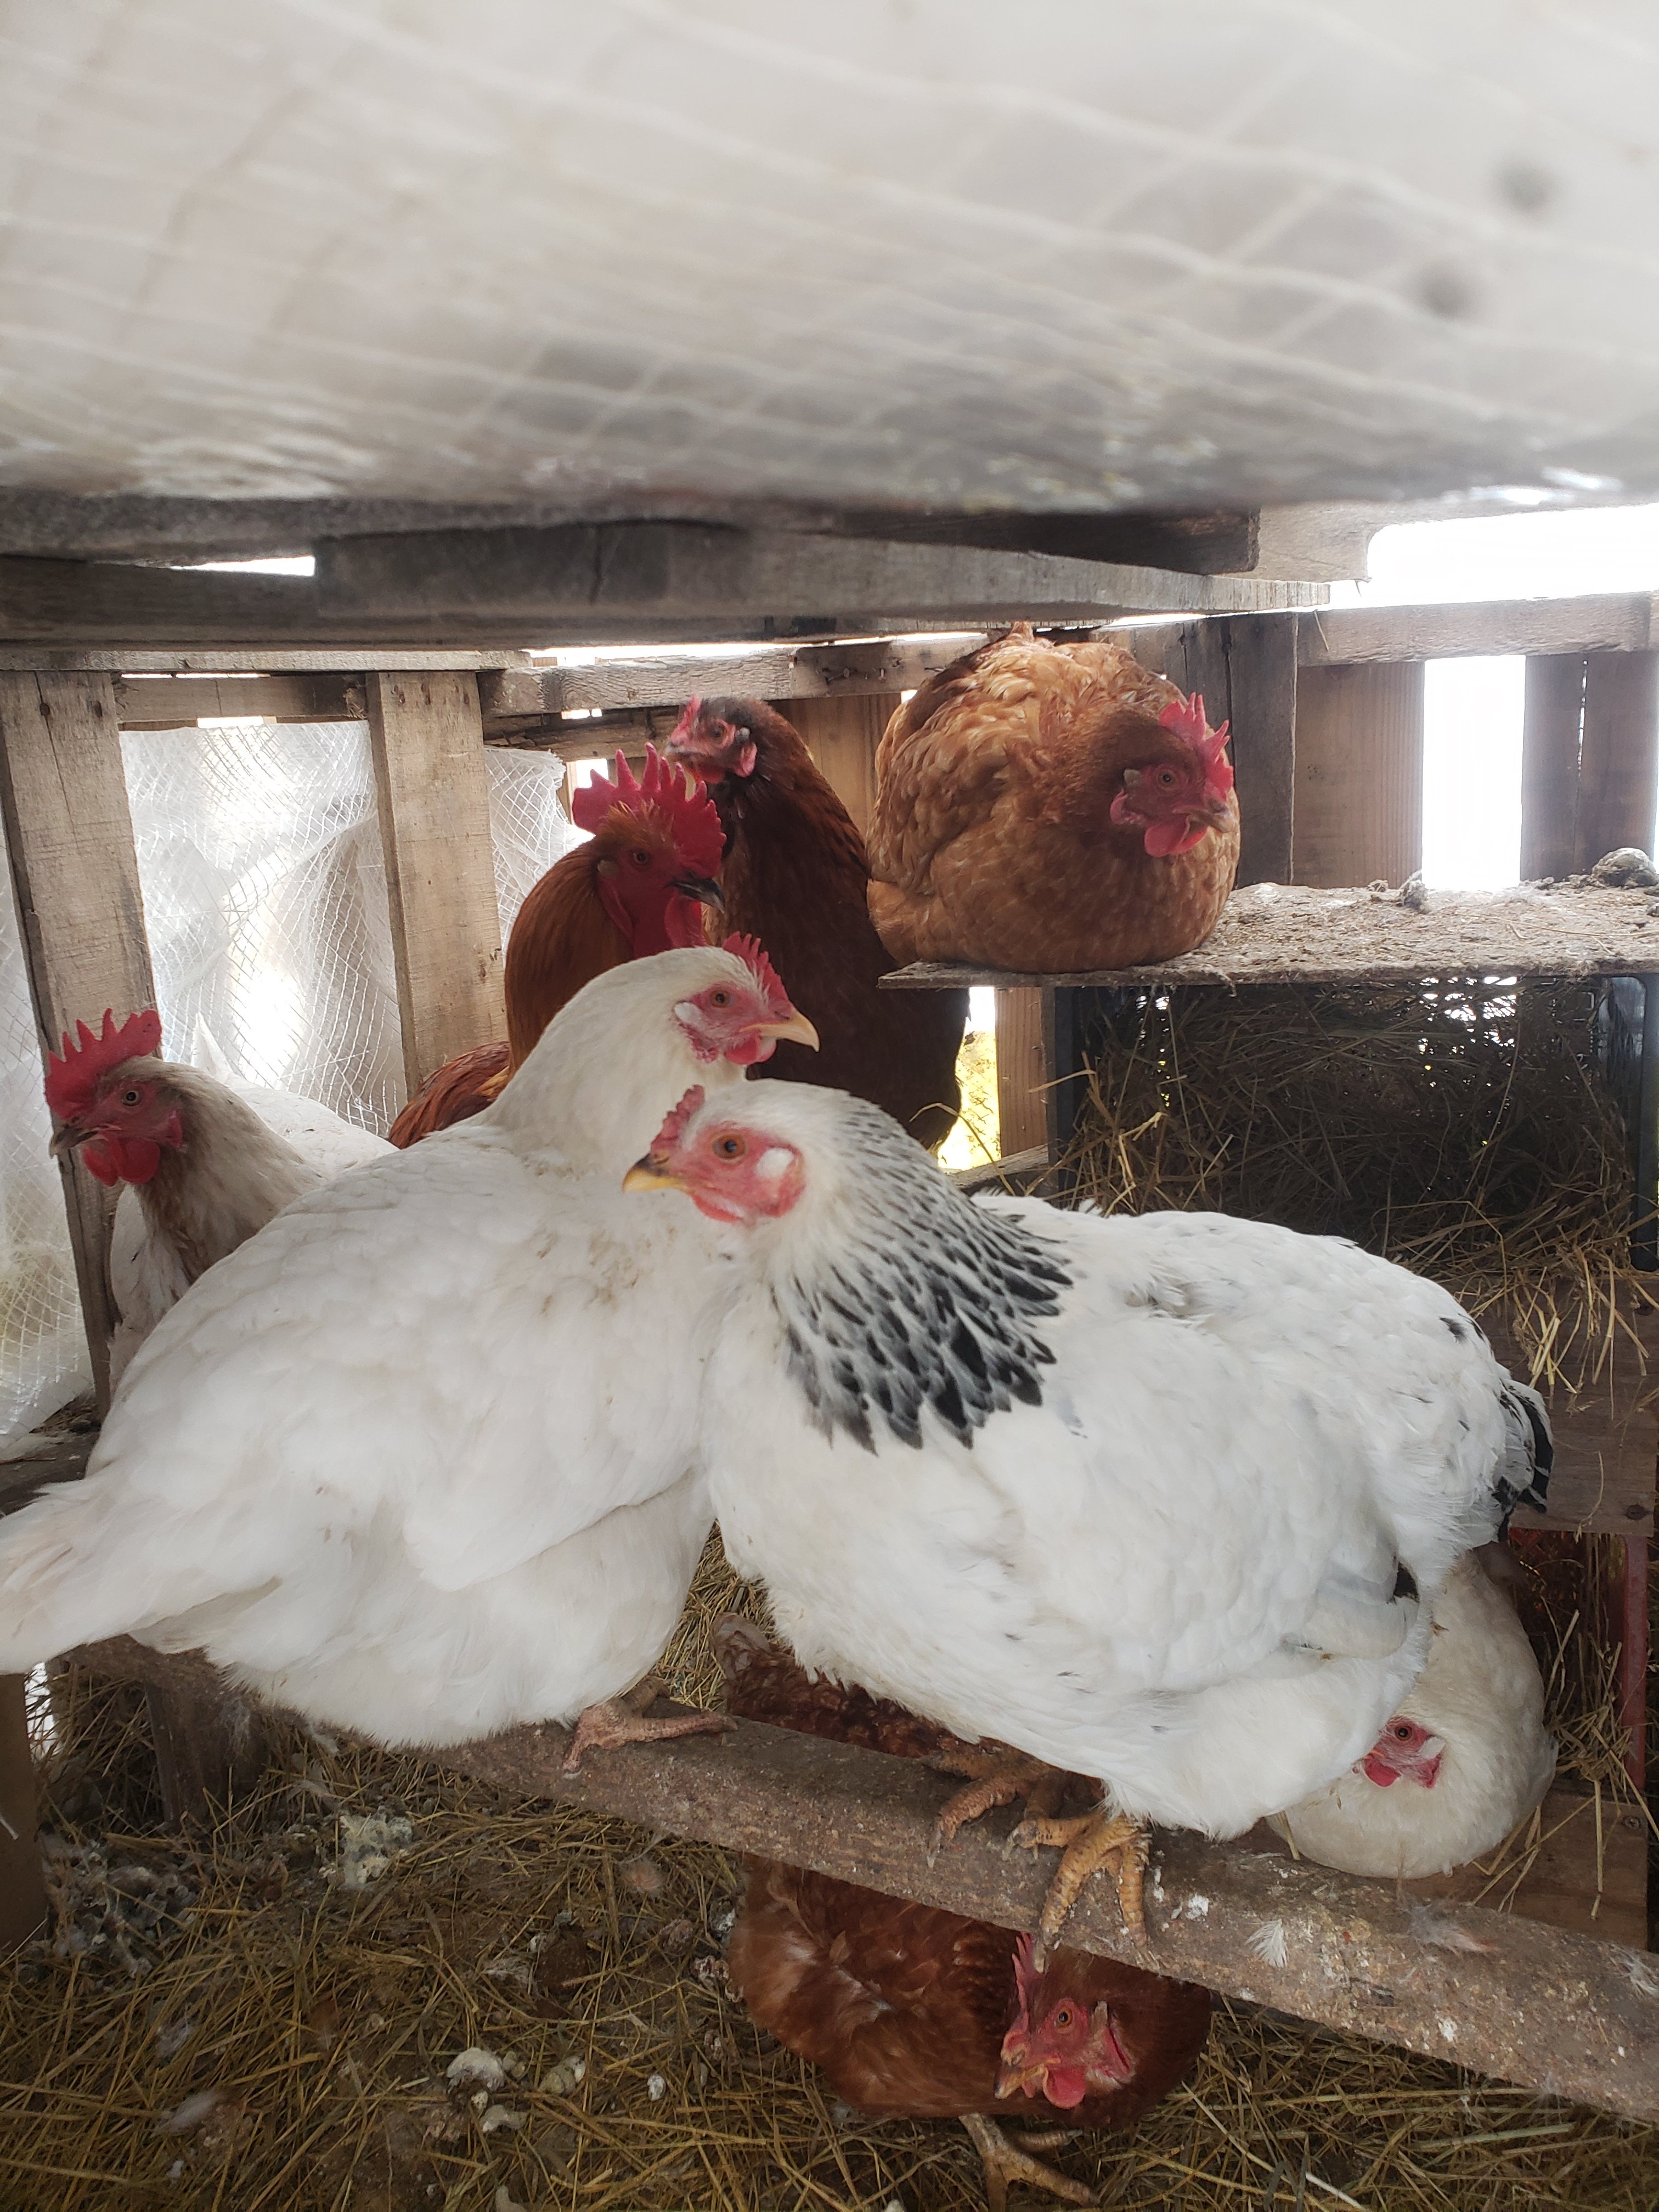
When we were building our coops for the birds, I was told by multiple people to make them completely solid. Chink up all the openings and make sure that it’s completely enclosed. I fought this ideology based on my years of experience with birds but also on my knowledge of how waste breaks down. You want a cozy coop, but it also has to be well-ventilated with airflow yet draft free. This means that there is no airflow at the bottom of the coop or directly onto the roosts. “Optimal ventilation will ensure condensation levels are minimal and ammonia build-up stays at bay.” 1
I use deep litter with my animals through the winter so that the heat generated from the bedding and waste breaking down helps to keep the interior of the coop warmer. However, the manure adds moisture inside the coop and also nitrogen and what I did NOT consider when choosing my bedding is that some have a higher moisture content than others. (That’s covered later in this post!) But proper ventilation will help reduce the moisture in the air inside as it can escape. Chickens instinctually trap warmer air under their feathers which helps keep them warm and they also roost a certain way, which protects their feet. So the main goal was to keep ventilation while blocking the wind which should also help reduce the chance of frostbite on wattles and combs.

So what I chose to do when building our coops was to use pallets. We used empty feed bags to cover the outside as the way they are manufactured makes them exceptionally strong. The materials also create a barrier that resists moisture, chemicals, and oils, keeping the feed inside the bag uncontaminated, which then keeps these things from going through the bags into the coops as well when used as siding. The bottom rows of the pallets in the images above have bags that were cut open and then screwed to the outside in an overlapping manner, which allows light to pass but keeps the rest out. We reinforced the top row with uncut bags or plastic woven through the pallet to trap the heat generated by the birds and manure to keep it warmer as well as make it harder for the wind to get through. As an added precaution, we also took reinforced plastic and placed it over the fronts of the coops to further block the wind.
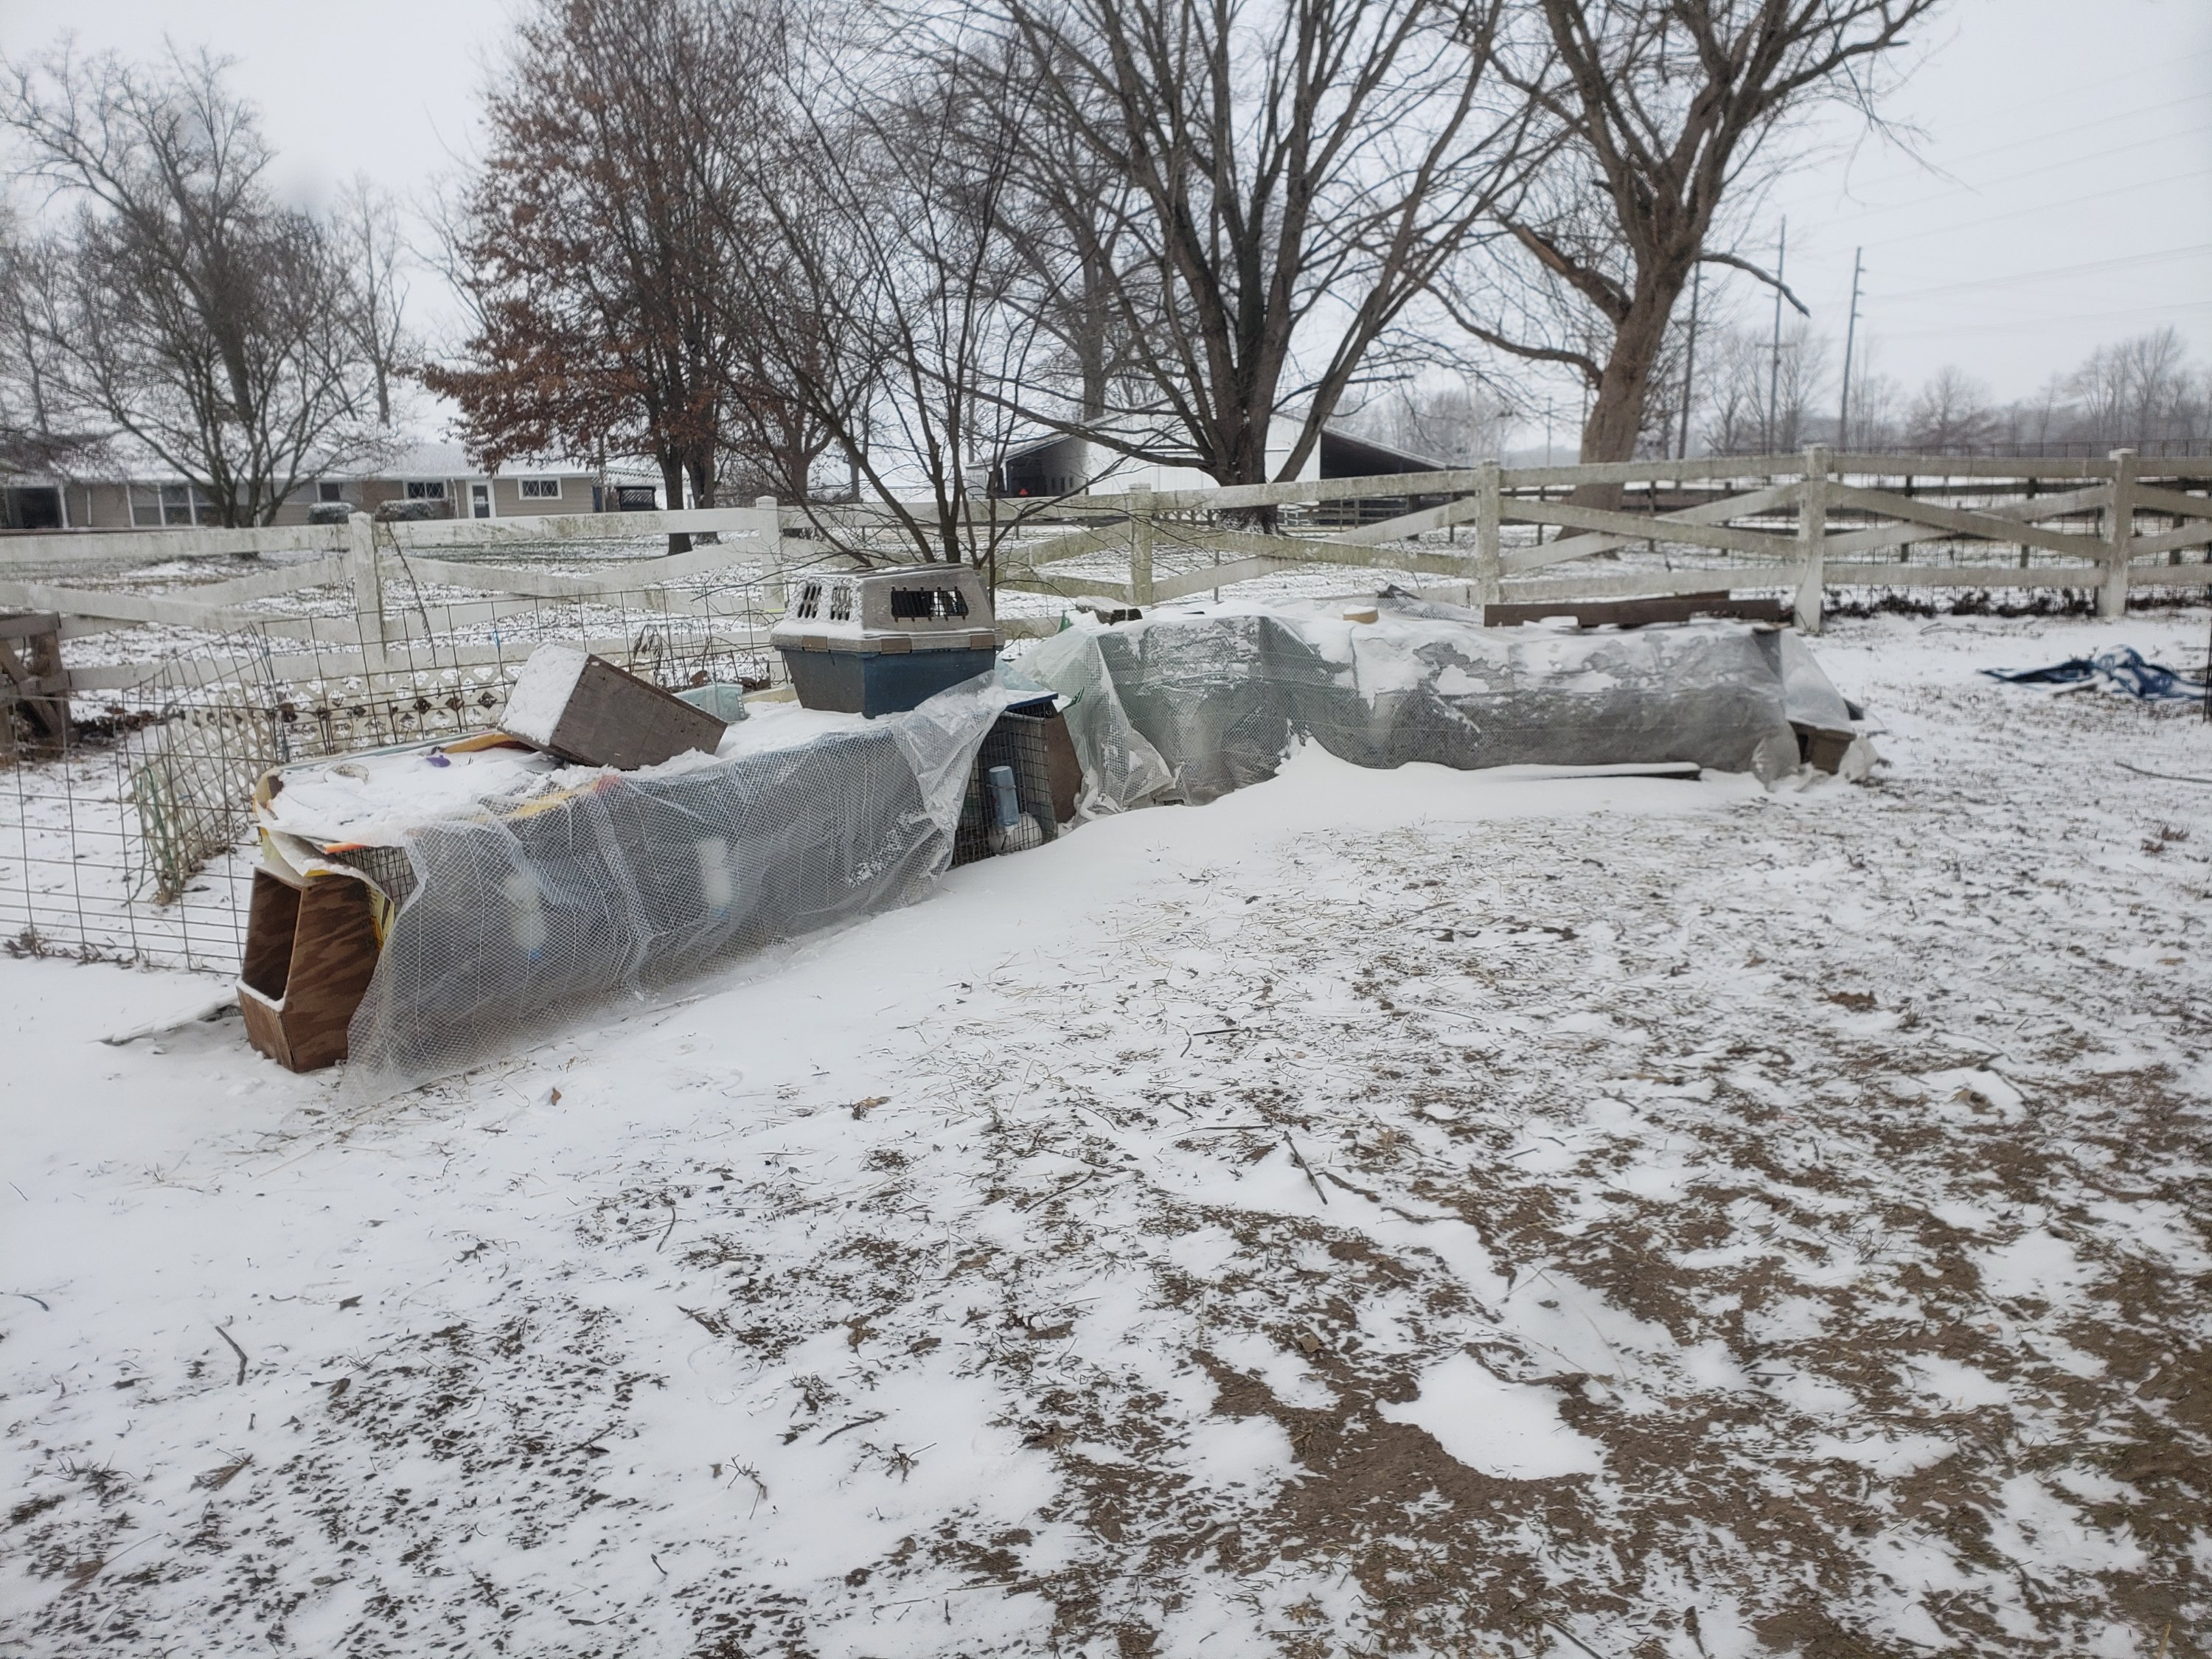
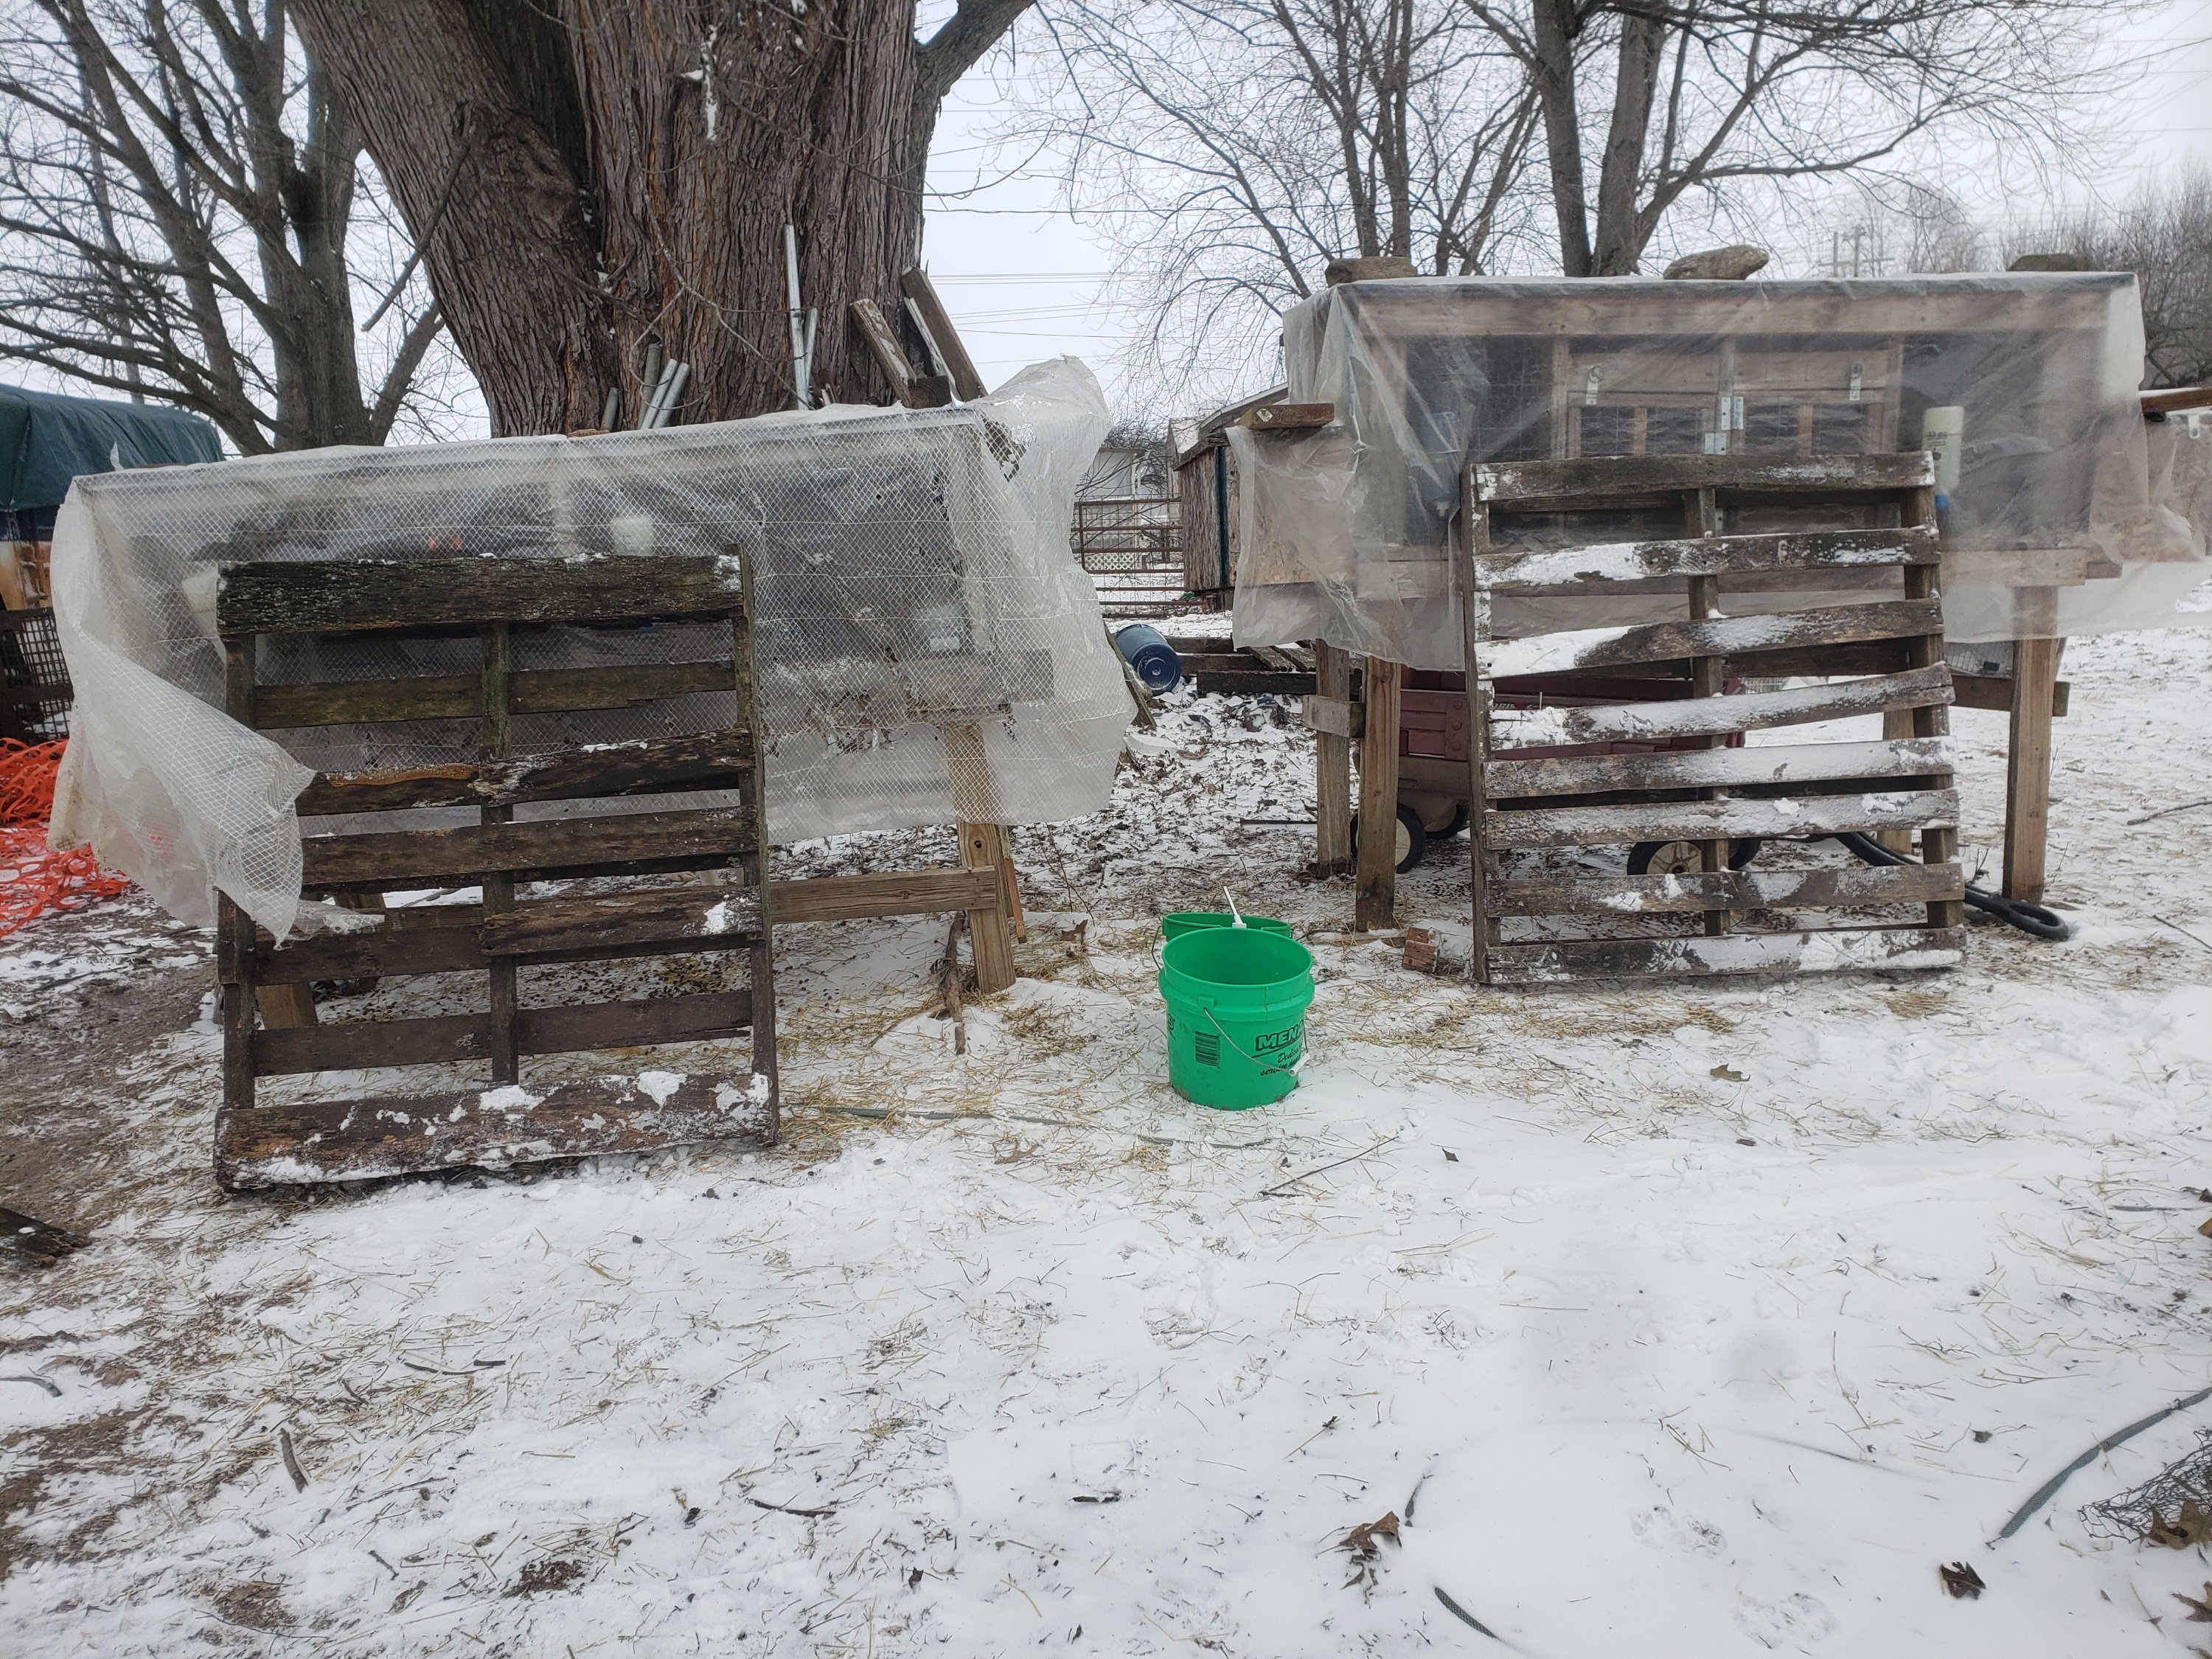
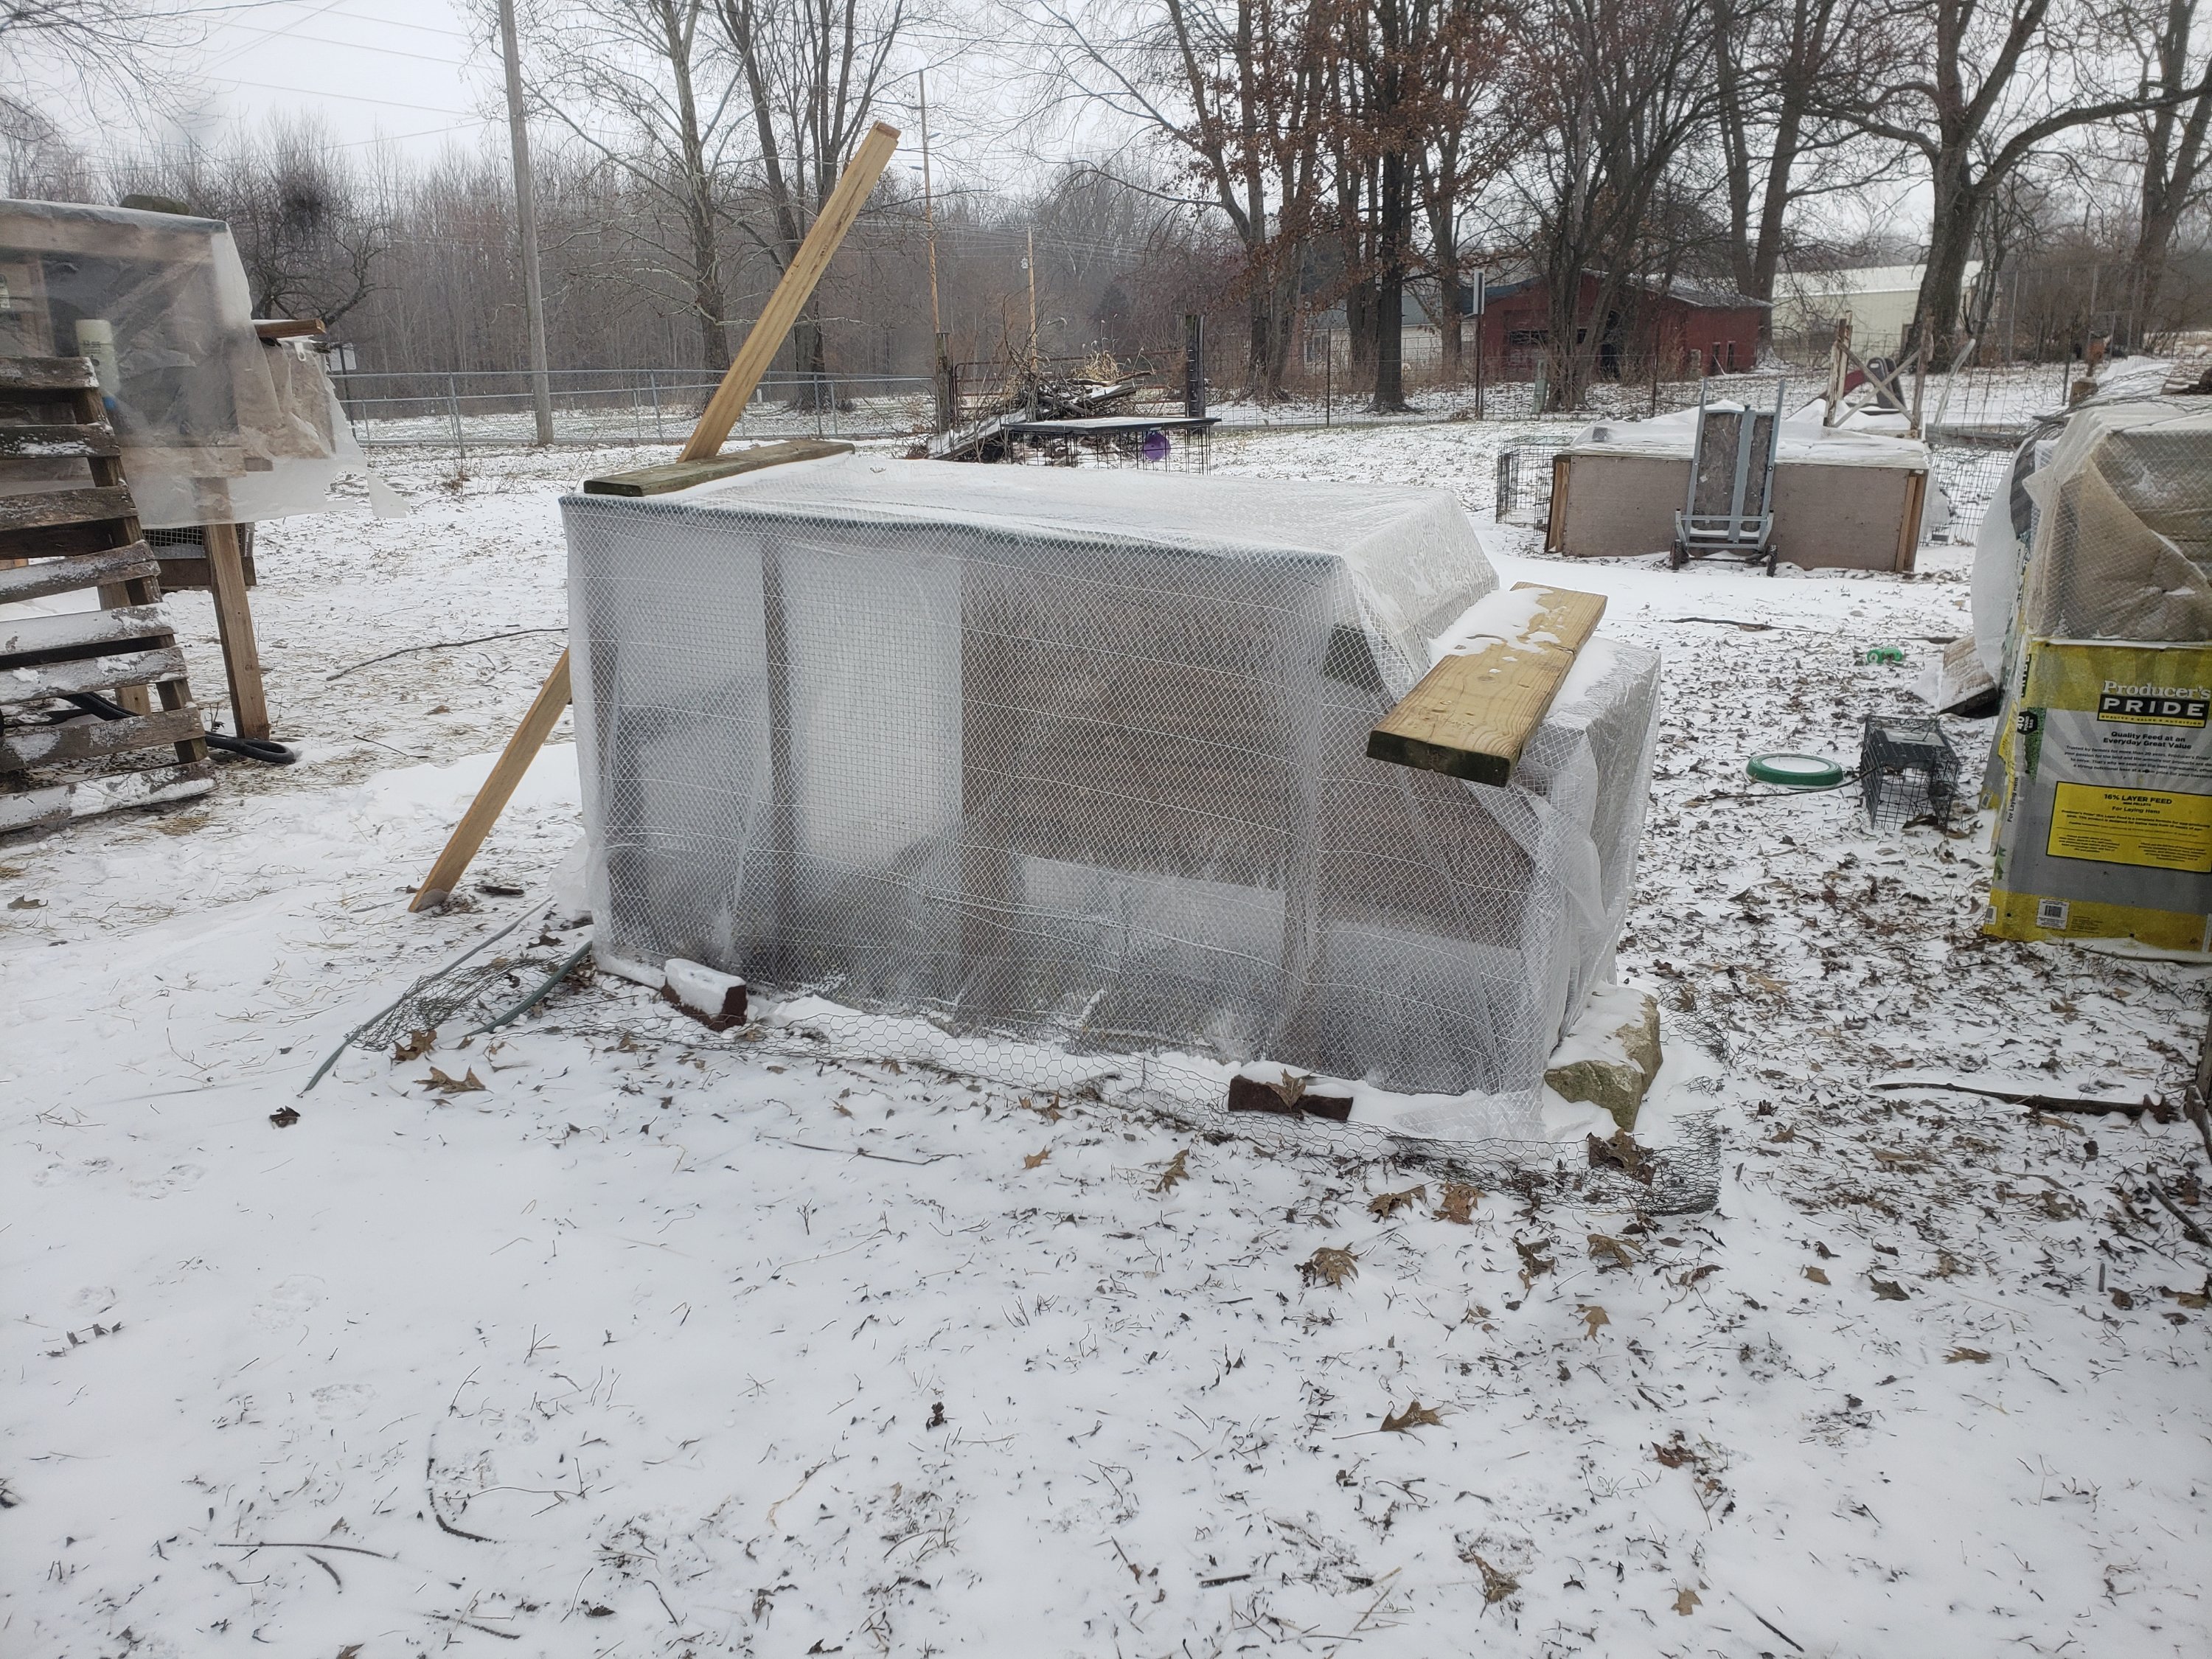
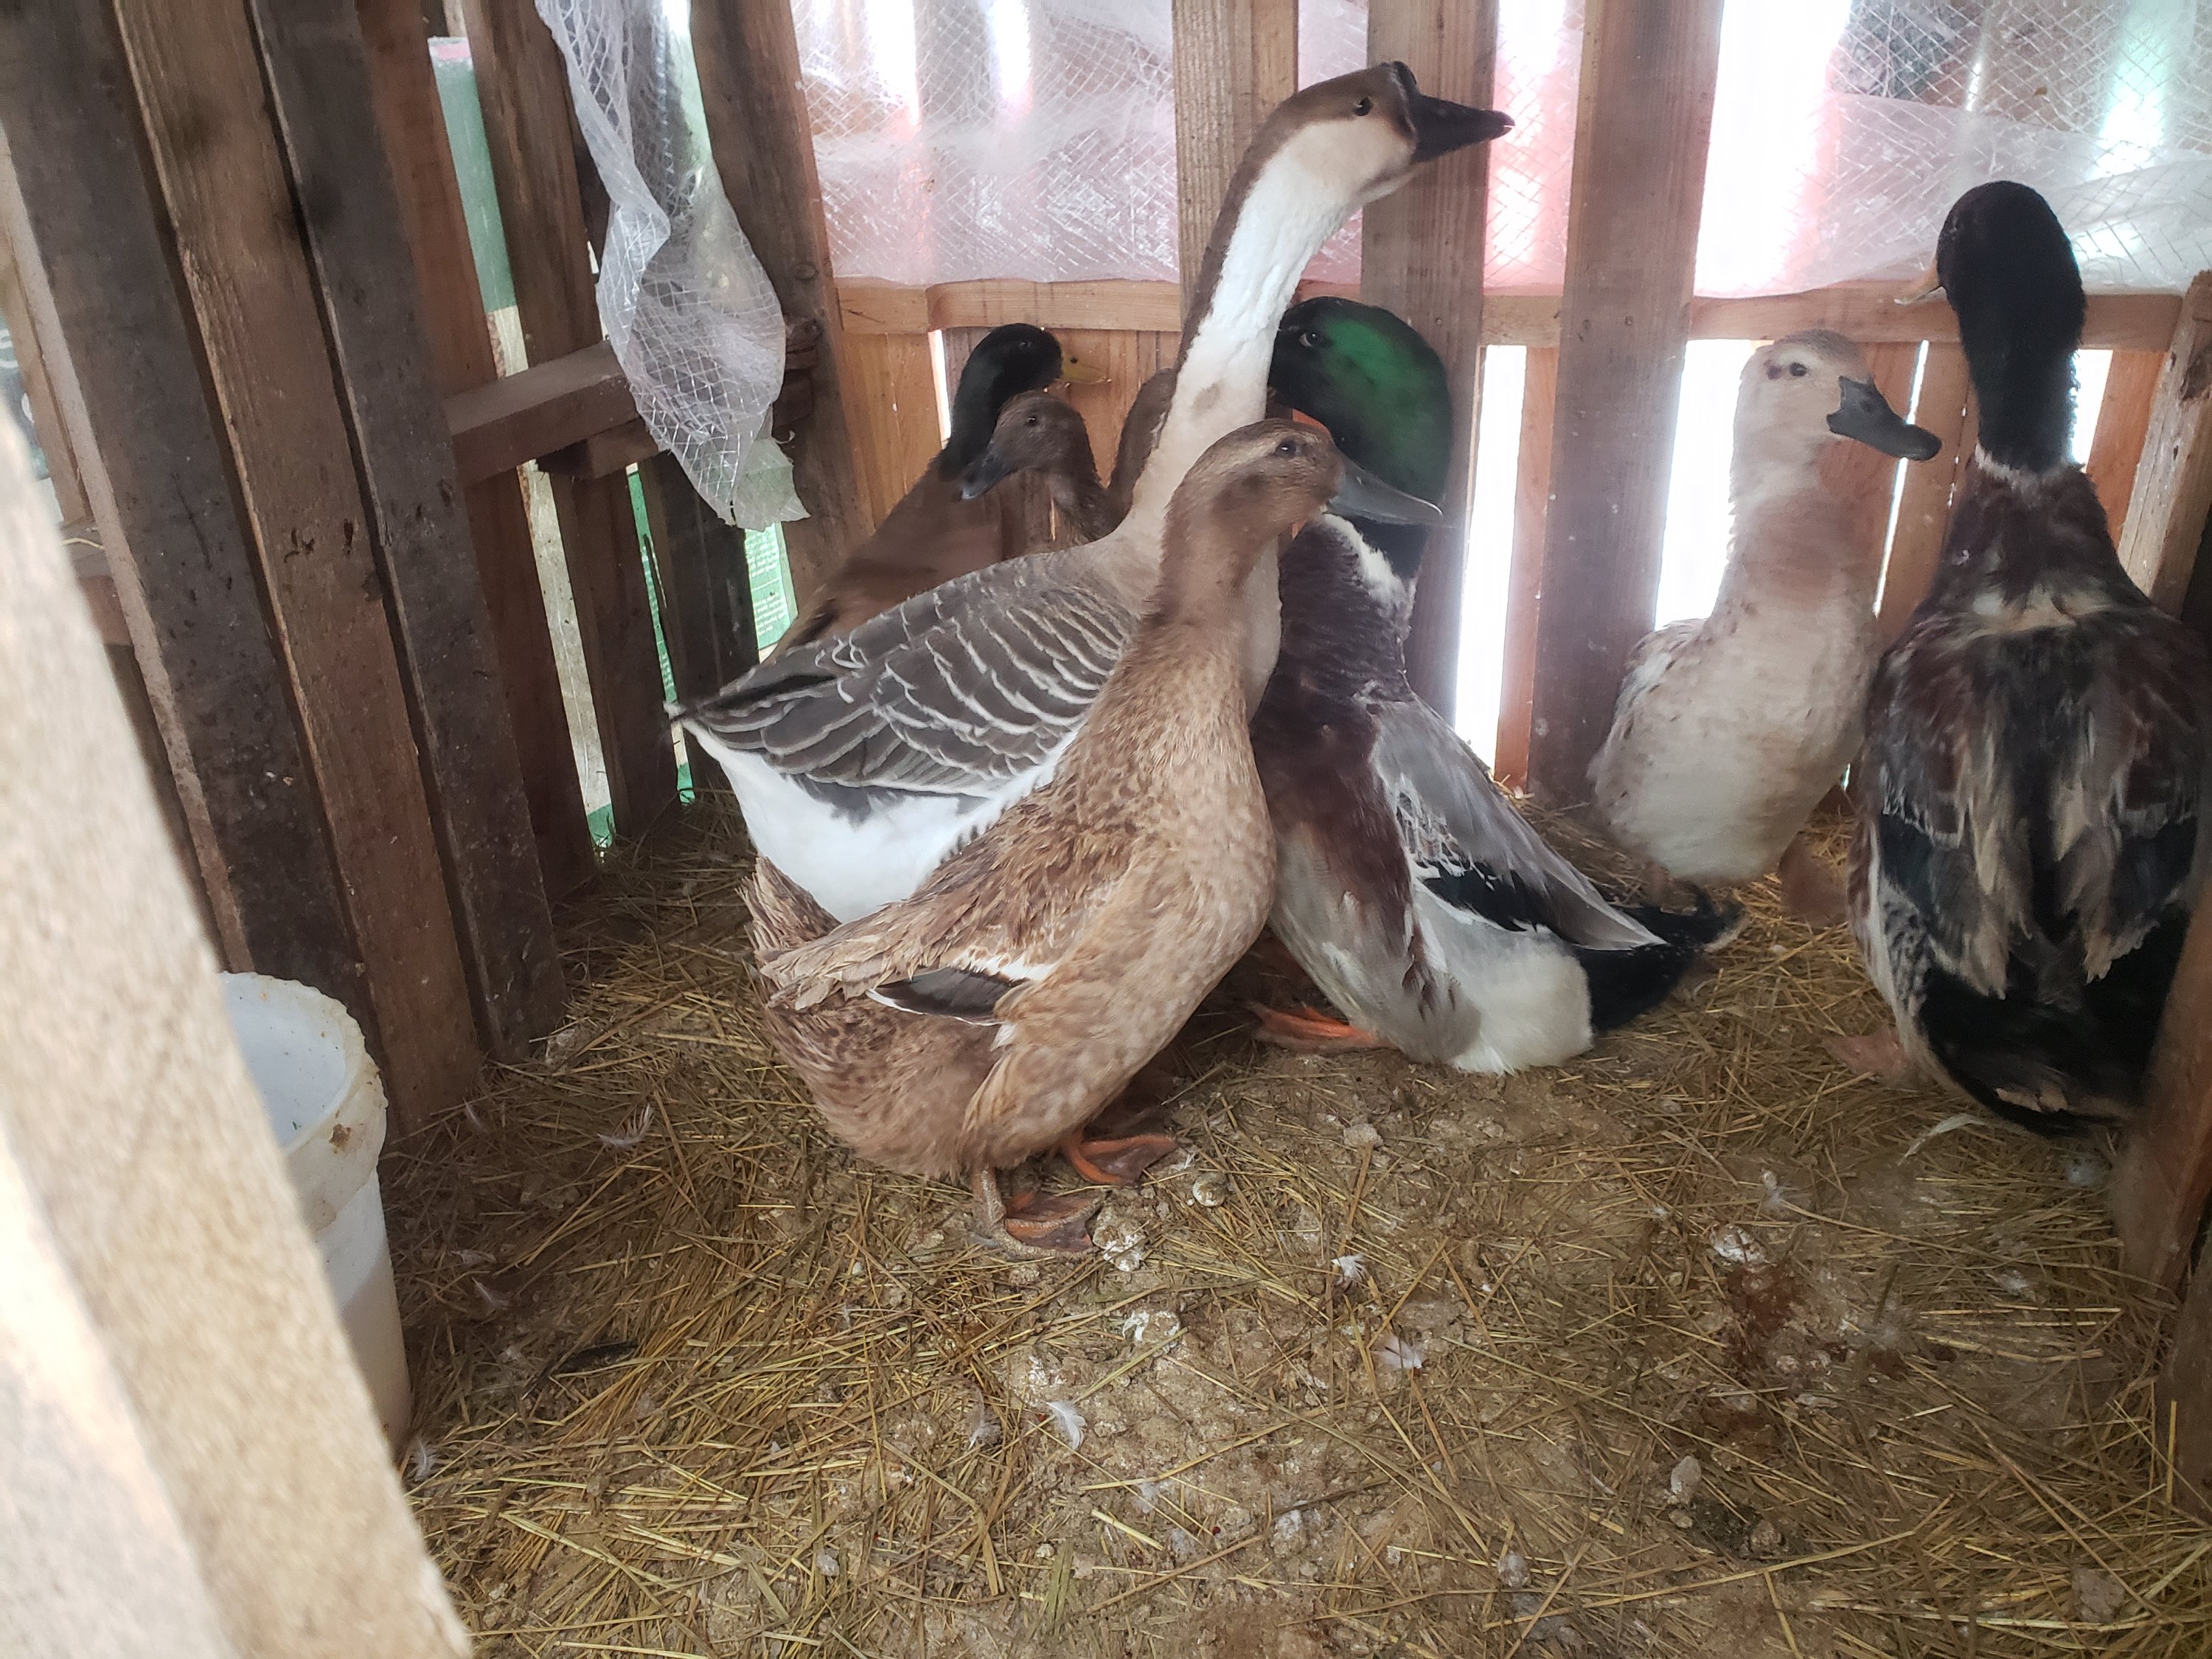
While you do not want to completely enclose the coops and hutches like you would build a house, when windchills are in the negative numbers, you want to create a wind barrier that will stop that cold air from blowing into the enclosures. The same goes for rabbits. The dangerous wind temperatures can quickly drop their body temperature. So blocking the wind for them is also important. We did various things with our rabbit cages this year as the plastic was limited. We have tarps over our buck cages covering the tops, backs, and sides of the cages. We then used a single sheet of plastic anchored on top and sides to cover the front of their cages. With our grow outs, we again used cut-open feed bags to cover the back and sides, with wood on top and plastic again anchored to cover the front. (The exposed cage was covered back up after the photo was taken and they were fed/watered for the day.) With both of our maternity hutches, the sides, backs, and top are all made of wood so the only opening for the wind was through the front, where we again anchored plastic, this time using extra pallets that can’t be used for building. The problem came with our small colony of 3 rabbits, who are currently residing in a retired pre-made chicken coop. The house is built of wood, but their feed and water are in the run, which is only enclosed in hardware cloth. The thing is also several years old and definitely not draft-proof even inside the house, so we wrapped it entirely in plastic and anchored it all around.
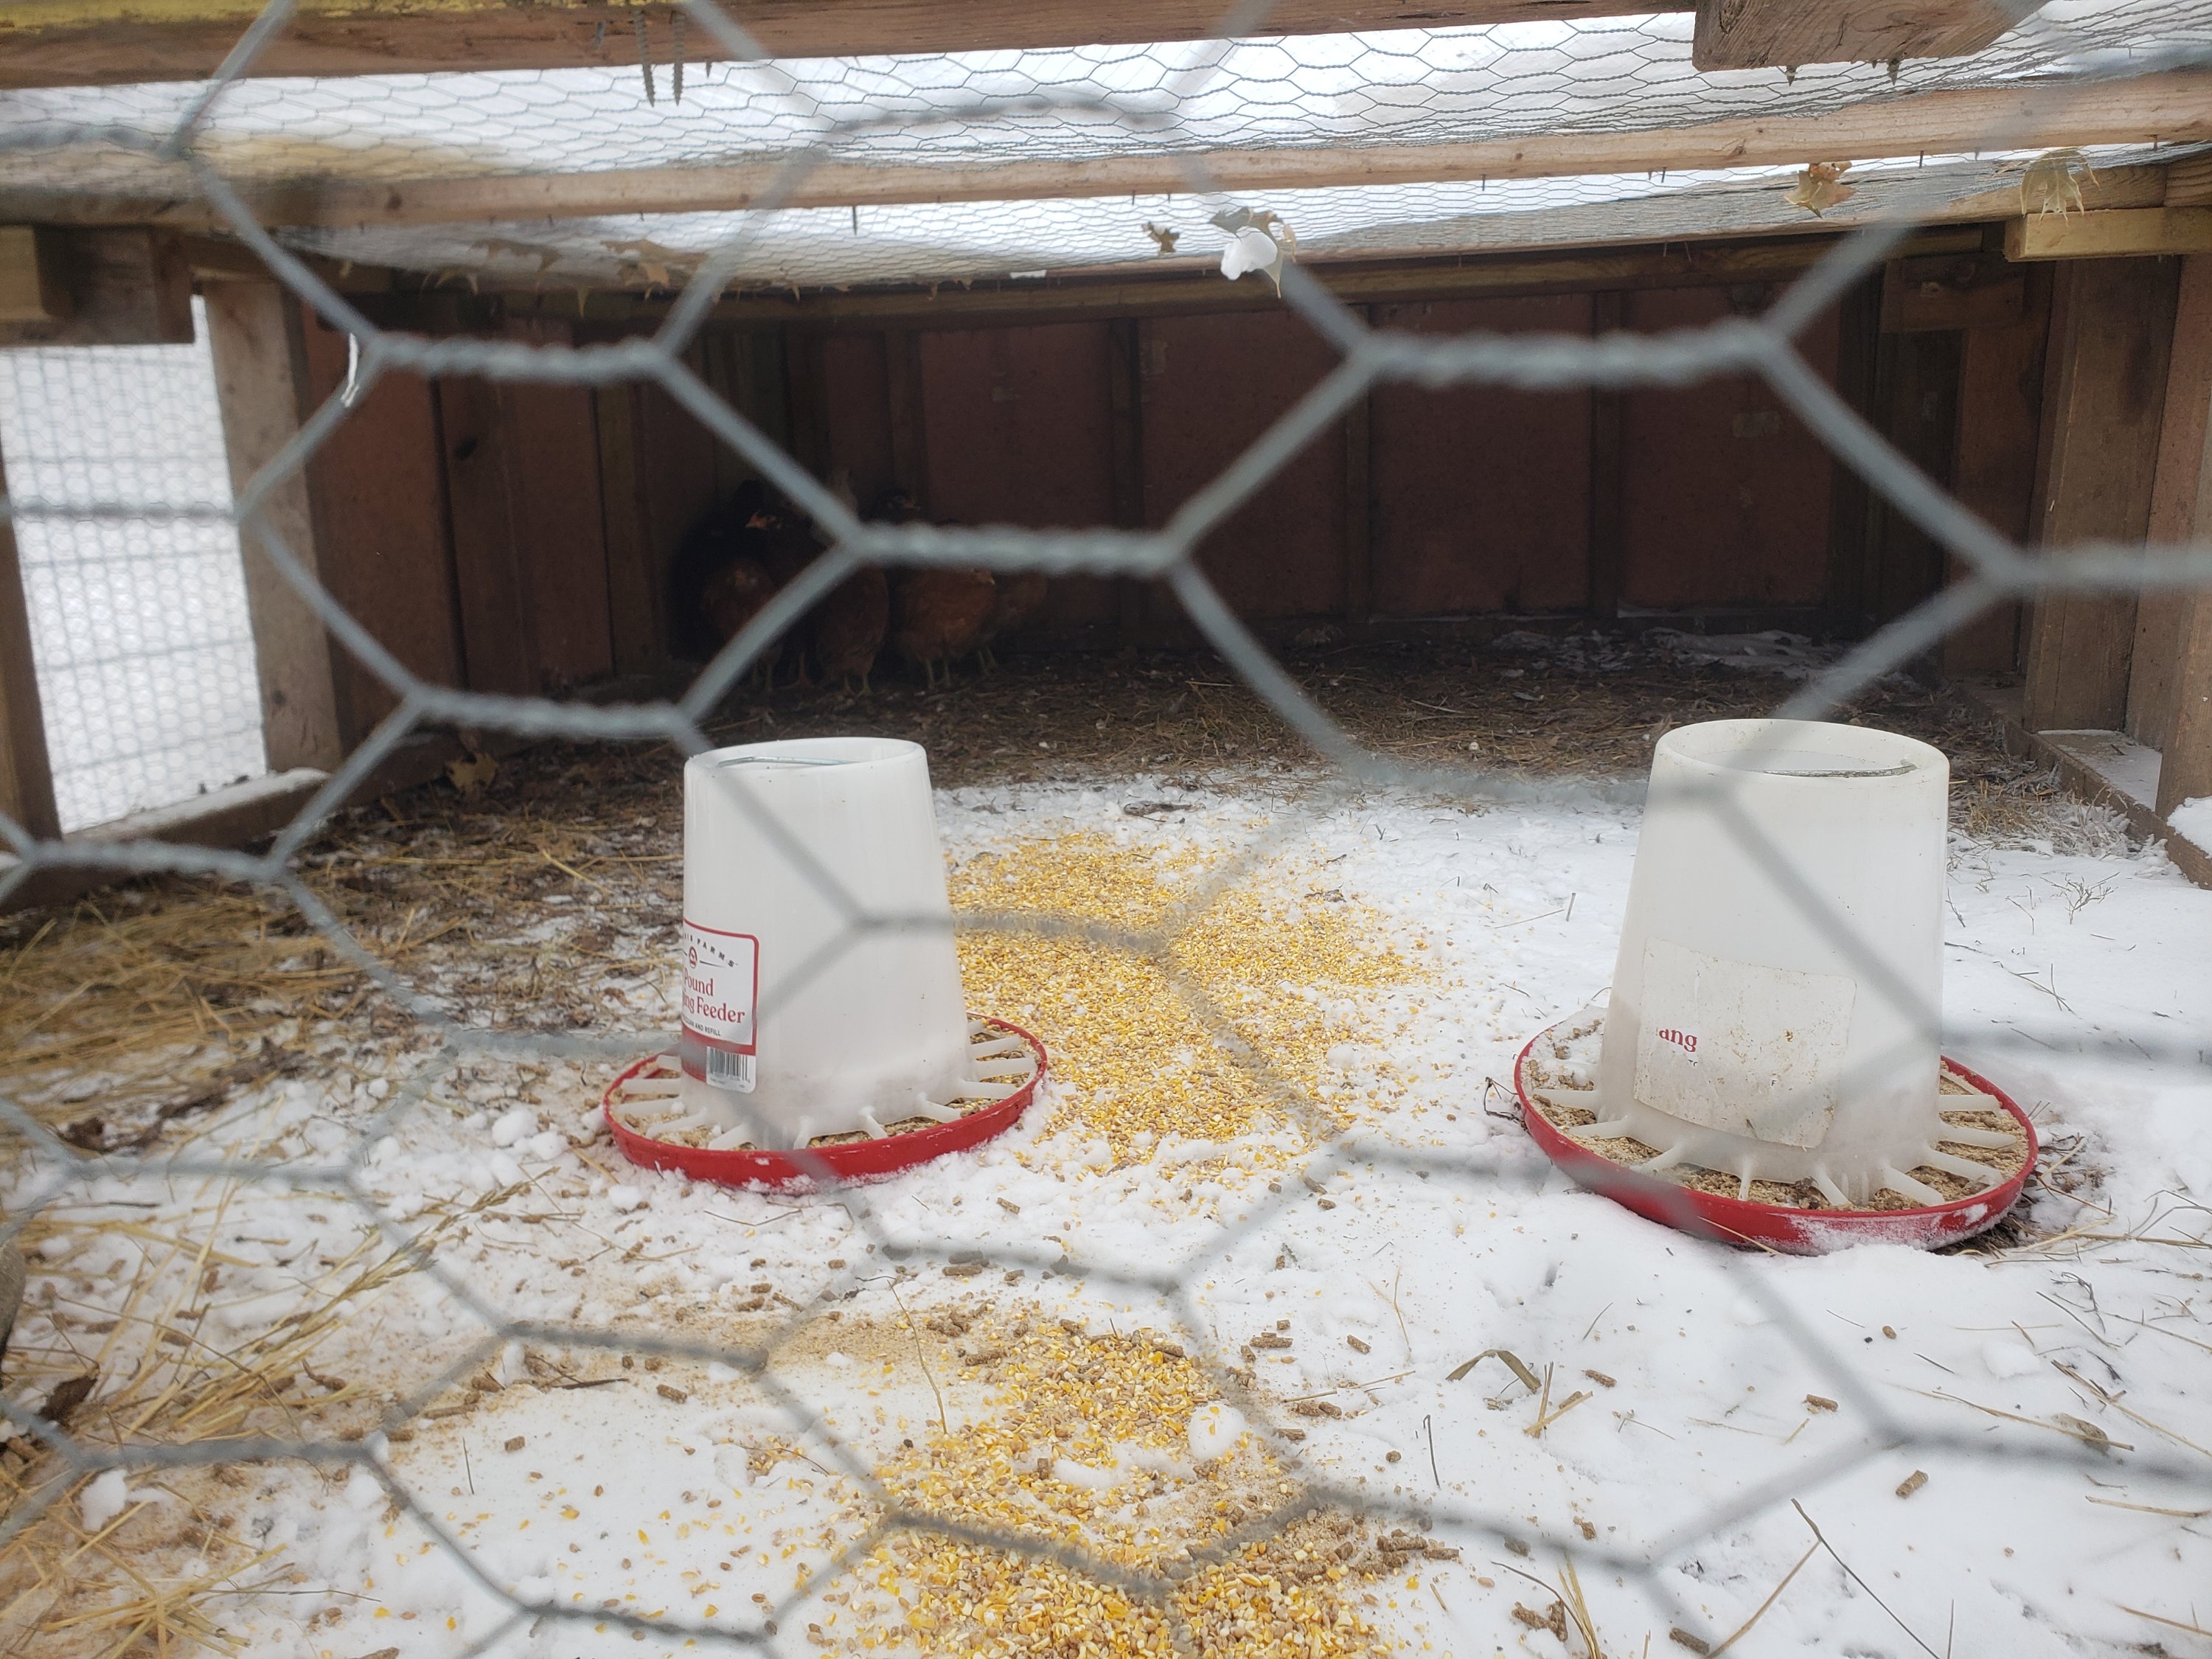

With our chicken tractor, which is currently housing our poultry grow-outs, the rear third was enclosed with wood, creating a shady place in the summer and a dry spot in the rain. It’s pretty draft free, so we didn’t do anything with that. However, the front 2/3rds of the pen is simply chicken wire with no protection from anything (it will be getting remade in the spring) so we covered it on the top and sides with plastic as well. The thought was that it would protect the chicks from any wind coming from the north or south. However, as you can see from the photos above, the anchors did not hold and the yard was uncovered by the wind overnight. However, the chicks were smarter than the humans gave them credit for and all huddled together in the southwest corner of the wooden enclosure.
I am glad to report that ALL the animals made it through the night even with -8 degree temperatures and -25 degree wind chills. However, it does open up discussion for better winterization before the next snowstorm comes through the Wabash Valley. Part of what we will be doing is making use of future feed bags in order to close up any areas snow can get into the coops. Instead of just covering the lower section of the pallets, we will be covering the top and bottom. We also need to find a better way to cover the colony so that there is still fresh air available for the rabbits without allowing the winds to affect them.
A recent research rabbit hole led to an article by Teal Stone Homestead. She touched on the proper placement and positioning of rabbit hutches, stating the weather in Indiana “most often moves west to east because that is the way the jet stream blows.”2 We will be utilizing this knowledge for rabbits and birds alike once the temps have risen and the pens can be moved so that the front of the enclosures will be facing East. Not only will this stop the rain and snow from blowing inside, but it will also make it easier to winterize each enclosure by just covering the fronts with plastic.
Another change we will be making is to the bedding that we use in the pens. Currently, we are utilizing leftover haybales from when we had horses. What I did not consider when making this choice was the way that hay is structured. The shafts hold moisture, which increases the moisture content inside the coop and can increase the risk of frostbite. Chicken droppings are also 80% water3, so that combined with the high moisture content of the bedding is going to create all kinds of issues I didn’t foresee (but should have!) and led to the decision to change bedding materials. Another issue with hay is the size of the pieces. They are so big the chickens can’t effectively turn them and they don’t break down as quickly so you end up with something like lasagna composting instead of deep litter. The build-up of moisture and ammonia can cause the hens to stop laying (which ours had and I attributed to the season change) as well the extra moisture can also “harbor mold, bacteria, coccidiosis, and even lead to bumblefoot.”3 So changing the bedding material will be an immediate fix once the temps warm up again, even though it will cause us to have to put deep litter on hold until spring.
How did you prepare for the cold weather this week?
Tell us in the comments below!
Resources
- Meyer Hatchery – How Do Chickens Stay Warm in the Winter?
- Teal Stone Homestead – BUILDING MY RABBIT HUTCH WITH KW CAGES
- Know Your Chickens – Deep Litter Method for Chicken Coops: The Complete Guide
If you haven’t done so already, come join us over on the Huckleberry Farms Facebook page! Lots of daily updates on what’s going on around the farm plus all kinds of photos of our animals and daily adventures!
